The following are screen prints of the internet set-up
wizard already built into your
Windows 98 machine. This wizard will guide you
through everything your
computer need to connect to our network. Remember if
you have any problems
please don't hesitate to call our technical support personnel.
To begin we must locate the Set-up Wizard's file this
can be done by first clicking
on your start button then goto FIND followed by
FILES OR FOLDERS.
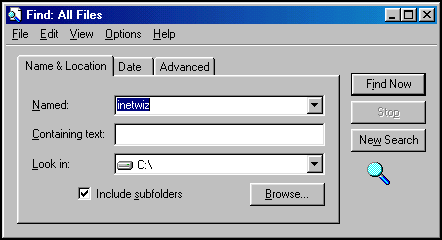
After clicking on that the following screen will appear:
In the NAMED box type in inetwiz just like on the
screen print below and make sure
that the LOOK IN box is on (C:) rather than on
Documents. Then click Find Now.

After a moment the following should appear:
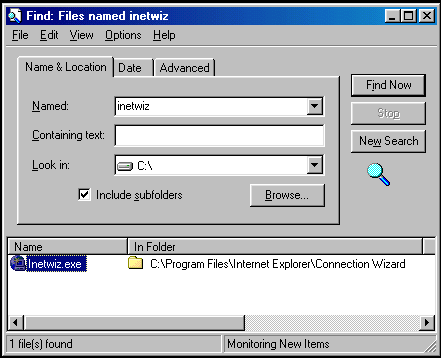
Double click on the inetwiz file as indicated in the diagram
in blue.
Next you will see the first screen of of the set-up wizard:
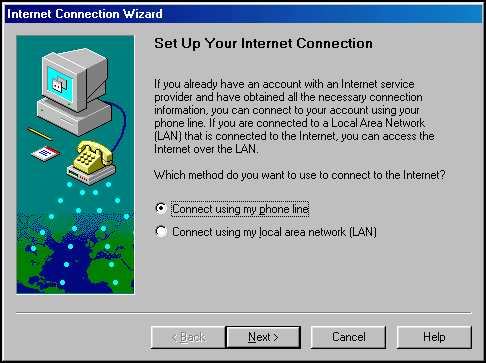
Click on the phone lines button then click next
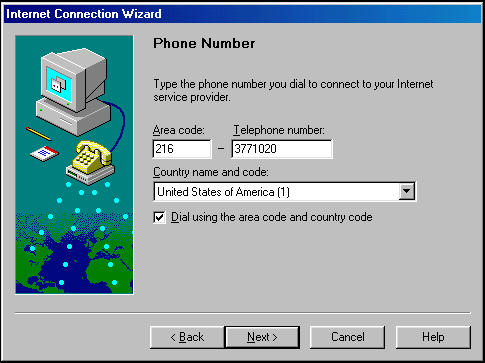
Next you want to enter our local dialup number for your
area if you
do not know which is right for you see our local
access table.
In this example we have enter the local Cleveland area
number.
Then click next again.
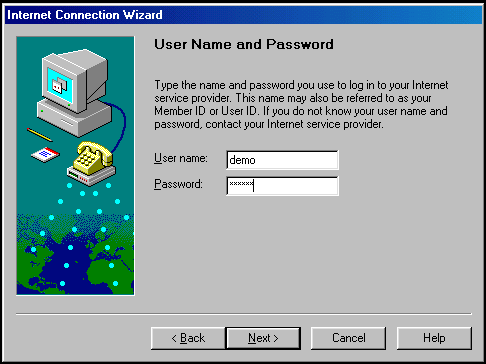
Now you want to enter the username (not your e-mail address)
and
your password that you choose when you set-up your account.
Note: Make sure your username and
password are in lower case.
Also make sure you type in no spaces.
Then click next again.
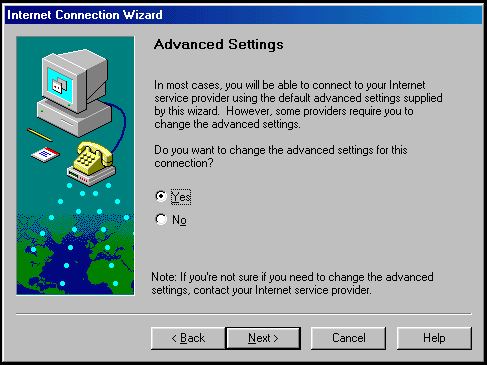
Click on the Yes radio button then click next.
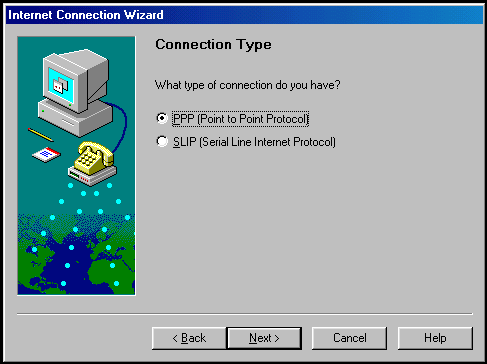
Click on the PPP radio button then click next again.
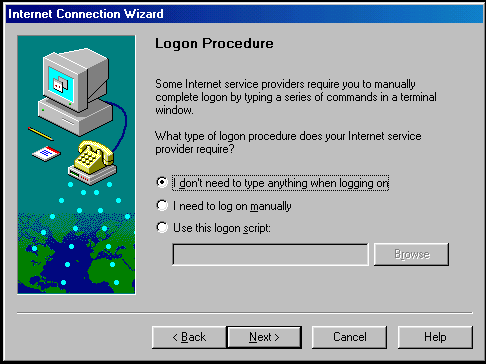
Click on the I don't need to type anything button then click next.
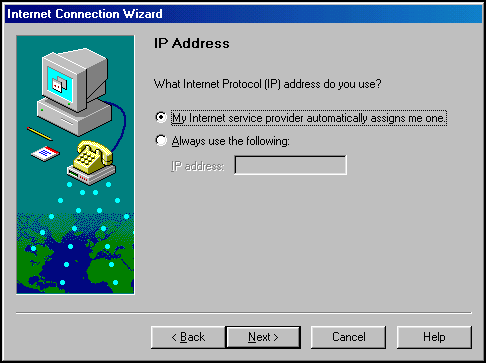
Click on the My ISP auto assigns one radio button then click next.
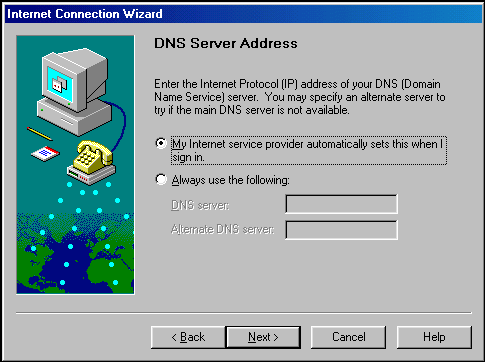
Click on My ISP auto sets this radio button then click next again.
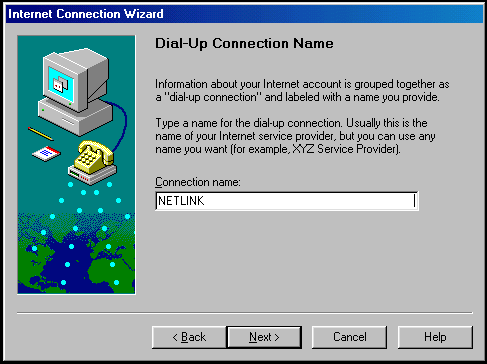
Type NETLINK in the connection name box then click next again.
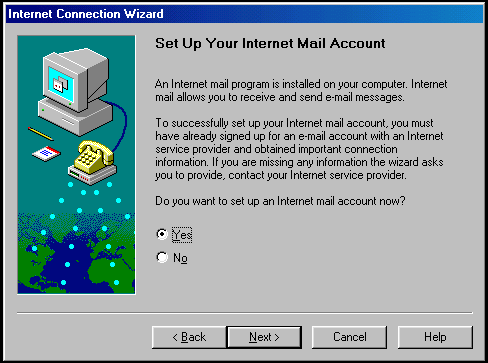
Click on the Yes radio button then click on next again.
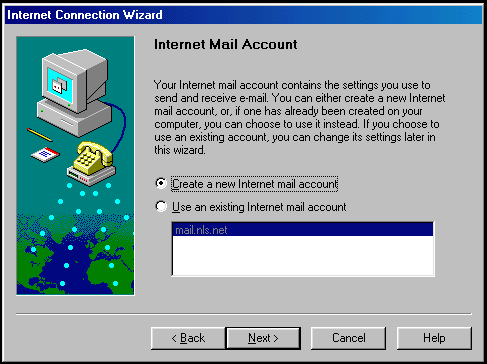
Click on Create a new Mail account button then click on next.
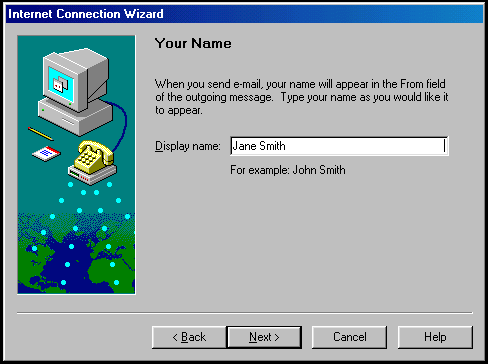
Here you want to type in your real name then click on next again.
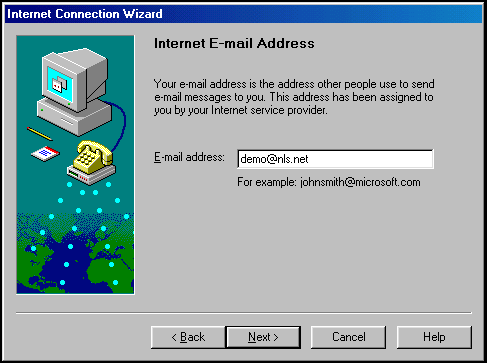
Now type in your e-mail address. Your e-mail address
is your
user name follow by @nls.net make sure you type in no
space, then click next again.
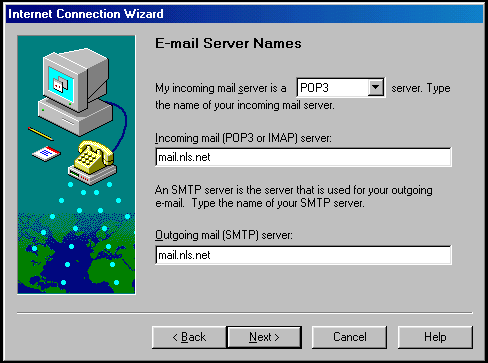
Make sure POP3 is selected for the server type
then in both
the Incoming and Outgoing Mail Servers mail.nls.net
again
make sure no space are typed in then click on next again.
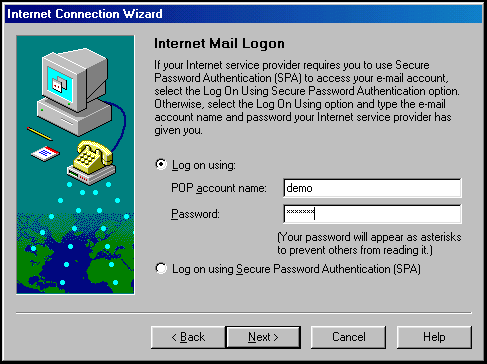
Click on the Log on using: radio button then
enter your normal
user name and password (again make sure everything in
is lower
case) then click on next again.
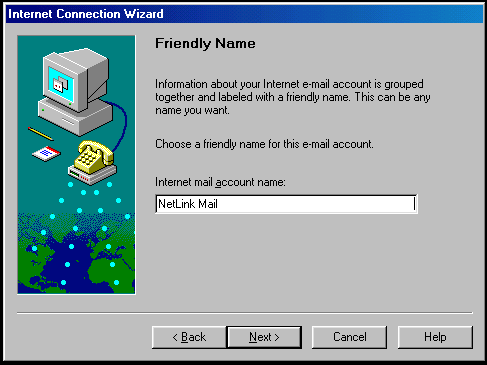
Simply type NetLink Mail in the I-net Mail account
name then
click on next again.
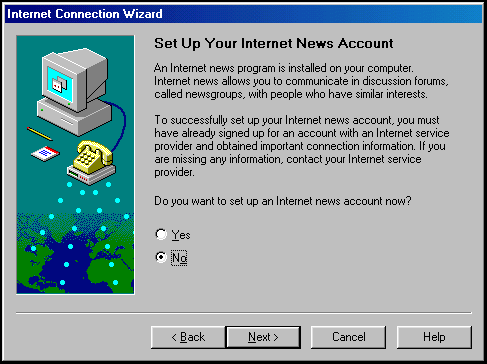
Click on the NO radio button then click on next.
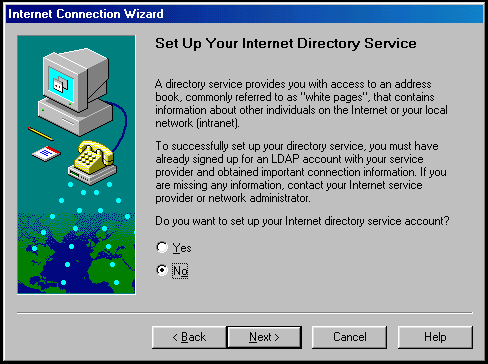
Click on the NO radio button then click on next again.
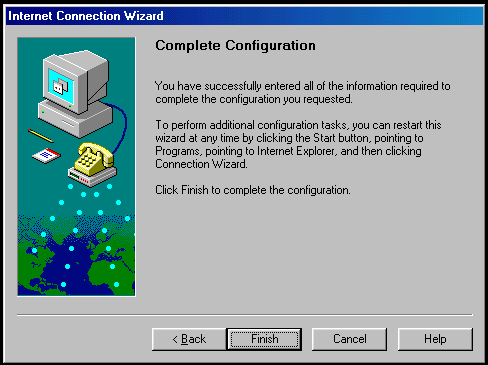
CONGRATULATIONS! You're finished simply read this screen
and then click on FINISH to conclude the set-up.
Make
sure your restart your computer before attempting to
connect.